Now that the cooler weather has arrived, I find my palate changes and I begin to think of baking, roasting and all things stewed and braised. For one thing, I welcome the heat from a hot oven on a cool afternoon and after a fall walk, I love to smell something emanating from the kitchen. I make bread all year round, but often buy an amazing sourdough loaf at my local market in the summer. Bread making sounds like a lot of work and can be if done in the traditional manner. Being short on time and long on my desire for a crusty country style loaf, I discovered a great “no- knead “ method that has become my staple for my daily loaf. I rarely buy commercial bread anymore, as I find it soft and doughy and somehow just not satisfying. Bread has always been a staple in almost every culture, and only recently developed a bad rap for its gluten content. Traditionally, bread was made with a fermented starter. I watched Michael Pollan, food guru, in his special called “Cooked”, where he talks about how fermented starter breaks down the particles in wheat that cause gluten intolerances. I found it fascinating and hope someday to experiment with a variety of grains and try to get my hands on some fermented starter. In the meantime, my crusty loaf sustains me on the weekend with my coffee, some homemade jam and a good book! Enjoy!
No-knead Bread

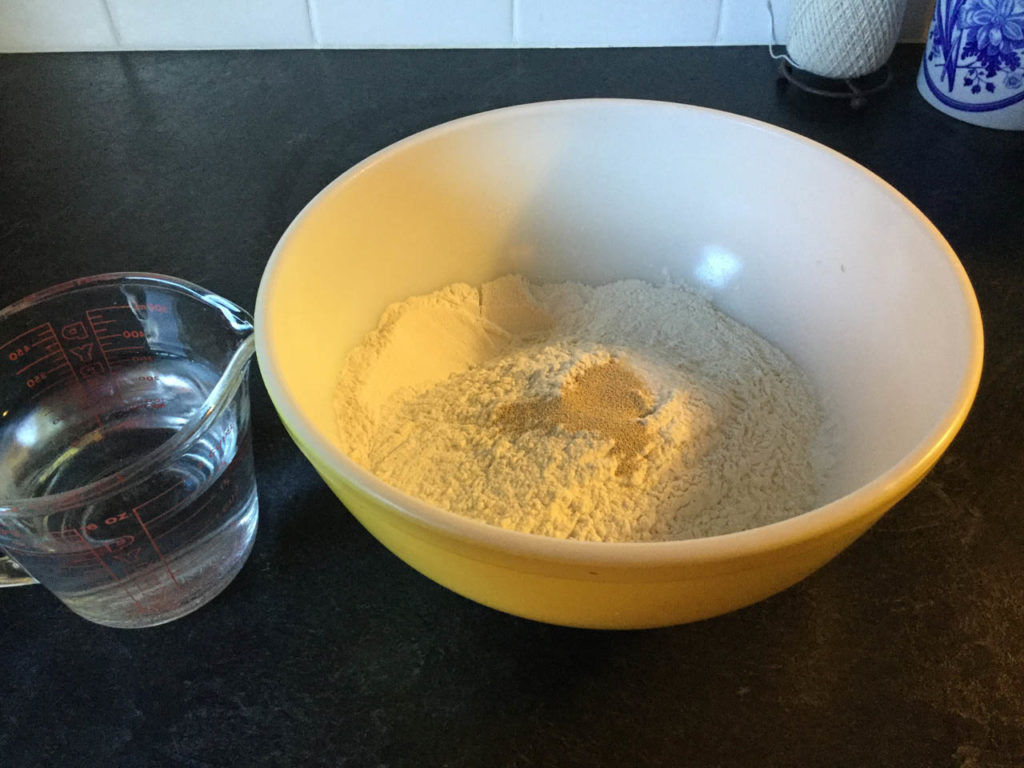
Ingredients
- 3 cups of bread flour
- 1 ¼ tsp. sea salt
- ½ tsp. yeast
- 1 ½ cup water (sometimes I use a tbsp. or two less if the dough seems wet)
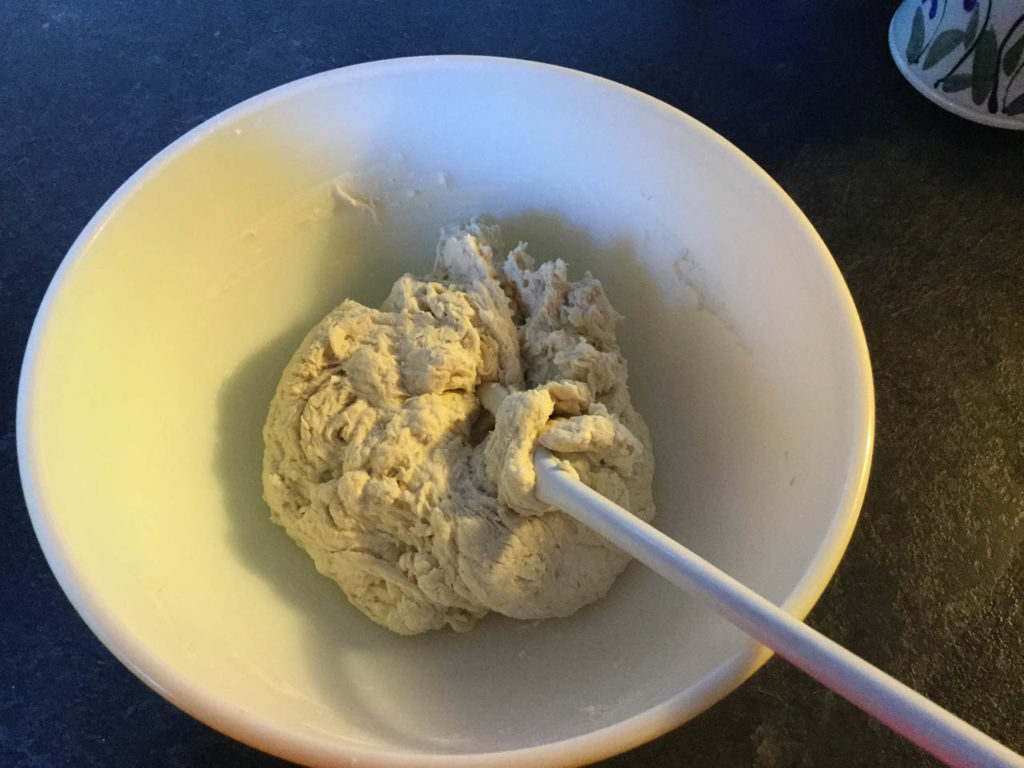
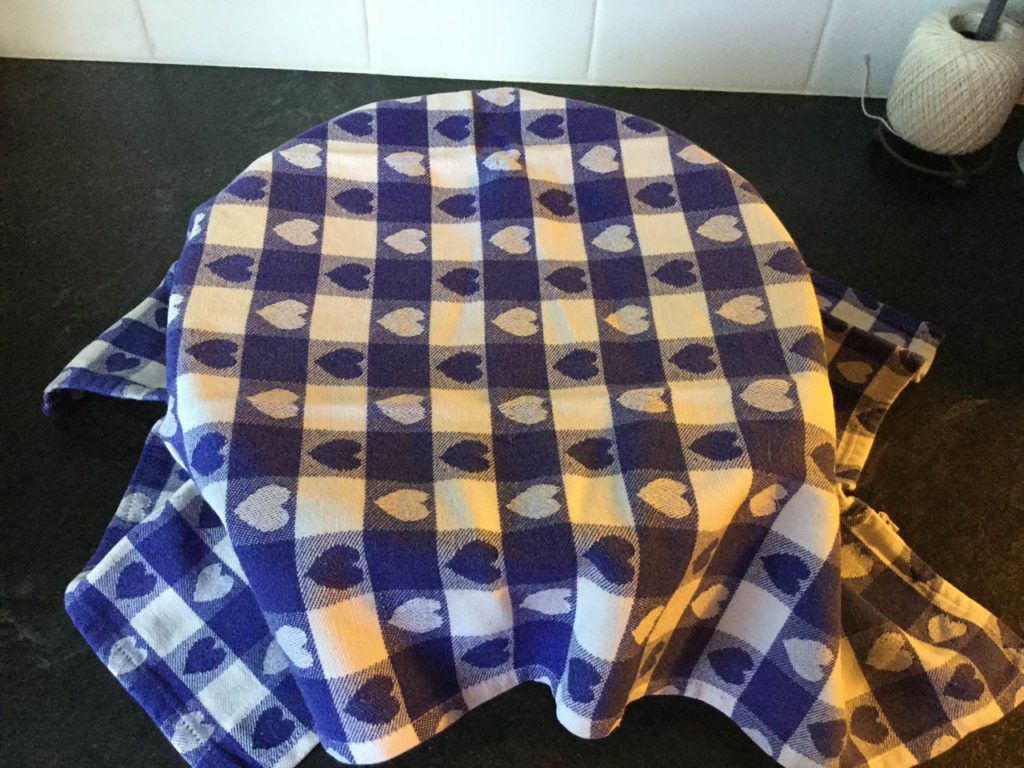
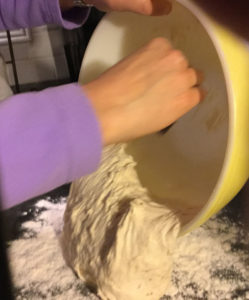
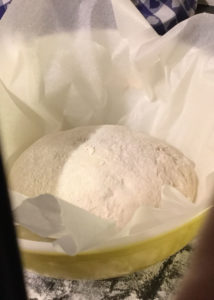
This is a very quick bread to make. It just requires the right timing. If you want it for Saturday breakfast I start it early Friday morning before work, (or even Thursday night before bed). Mix all ingredients in a bowl till a shaggy slightly wet dough forms, maybe two minutes, and then cover with a tea towel. Let it rise til about 5 or 6:00 in the evening. When I get home from work, I dump it out on a generously floured counter and roughly knead it 7 or 8 times, adding flour to keep it from sticking to your hands (Ok , so it’s not 100% no- knead, but pretty close!). Form it into a nice oval shape and lay it on a piece of parchment and place it back in the bowl and cover to rise for another 3 hours. At this point, I sometimes slash the top with an ”x” using a sharp razor blade.
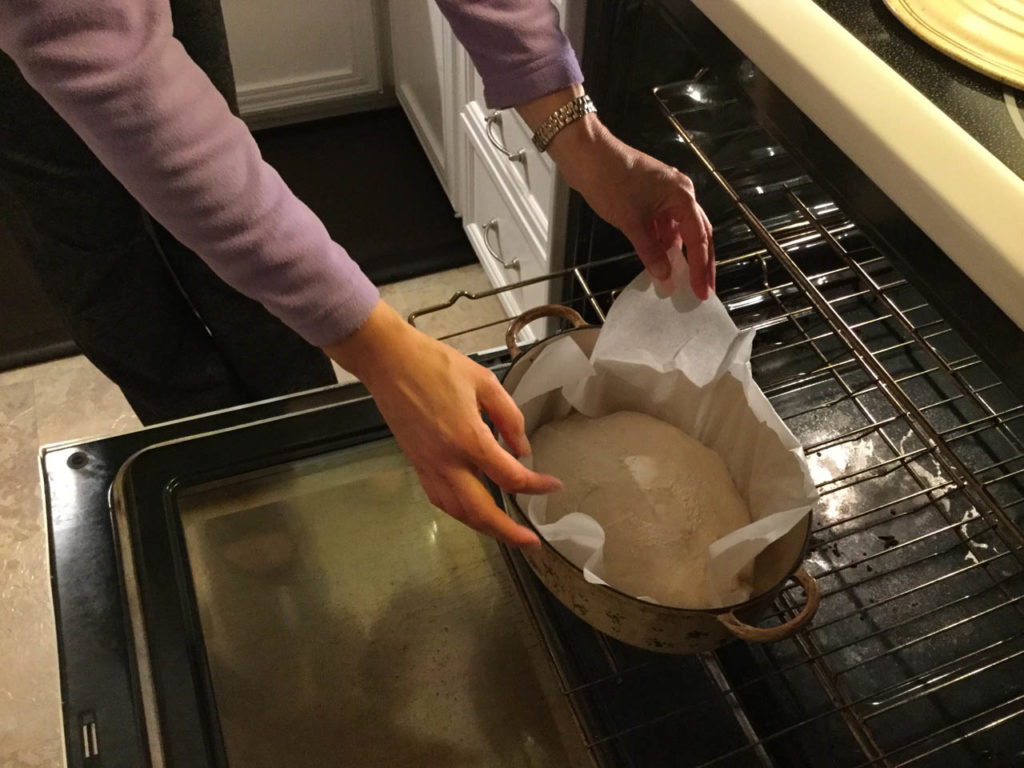
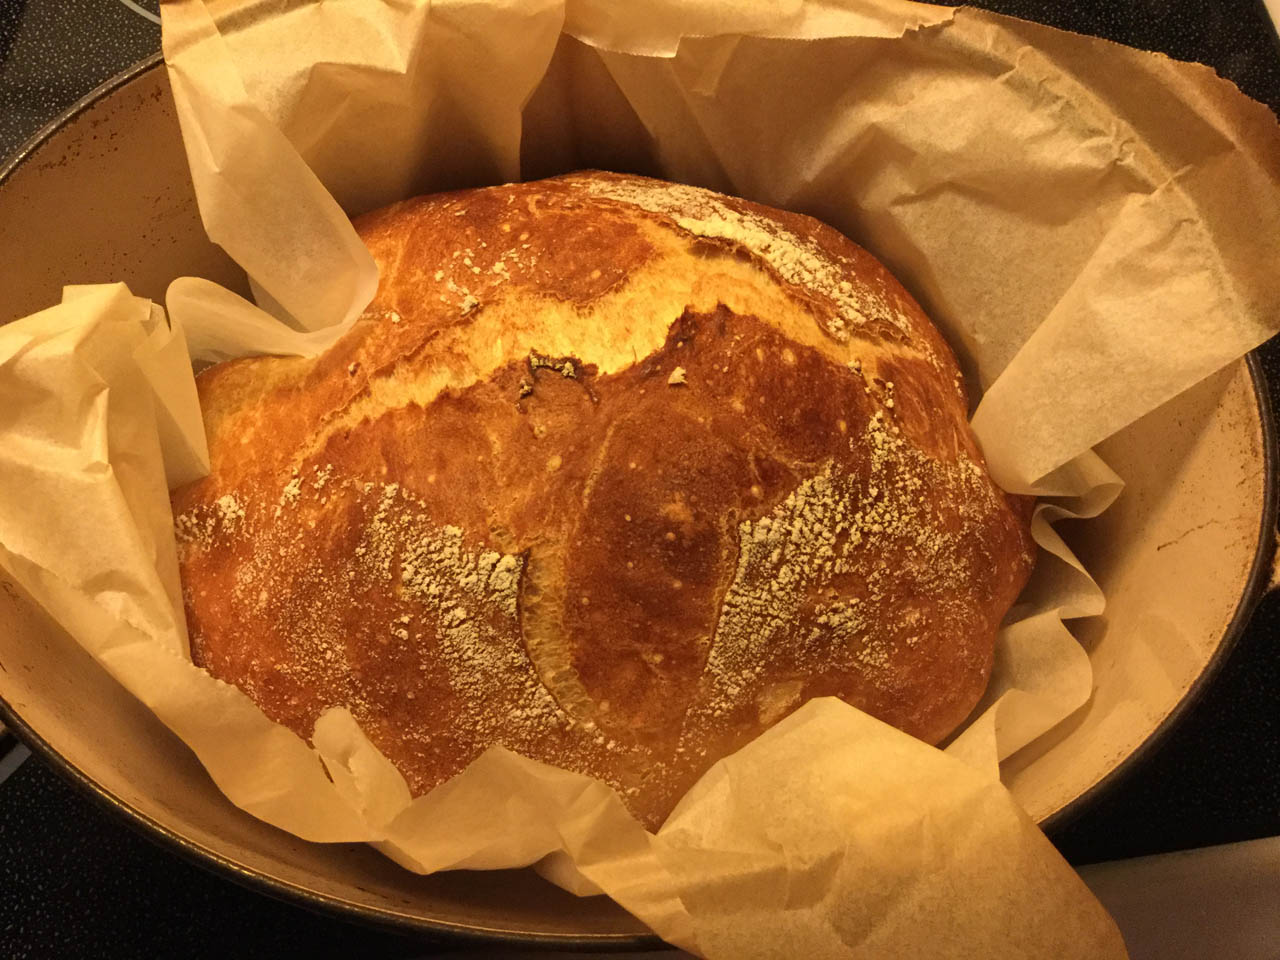
About ½ an hour before baking, preheat the oven to 450 degrees. Put a large oval cast iron pot in the oven to preheat. When the oven is ready, carefully remove the lid from the pot (use an oven mitt!) and gently lift the bread on parchment and lower it into the pot. Replace the lid and bake for 20 minutes. Then remove the lid and continue baking for another 15 minutes. When the timer goes, open the oven and prepare to be amazed. Let it cool completely before wrapping or slicing. I like to slice it all in one go and then put it in a ziplock bag and freeze it if not using right away. I find it handy to take a piece at a time to toast and it stays fresh.